Before and After
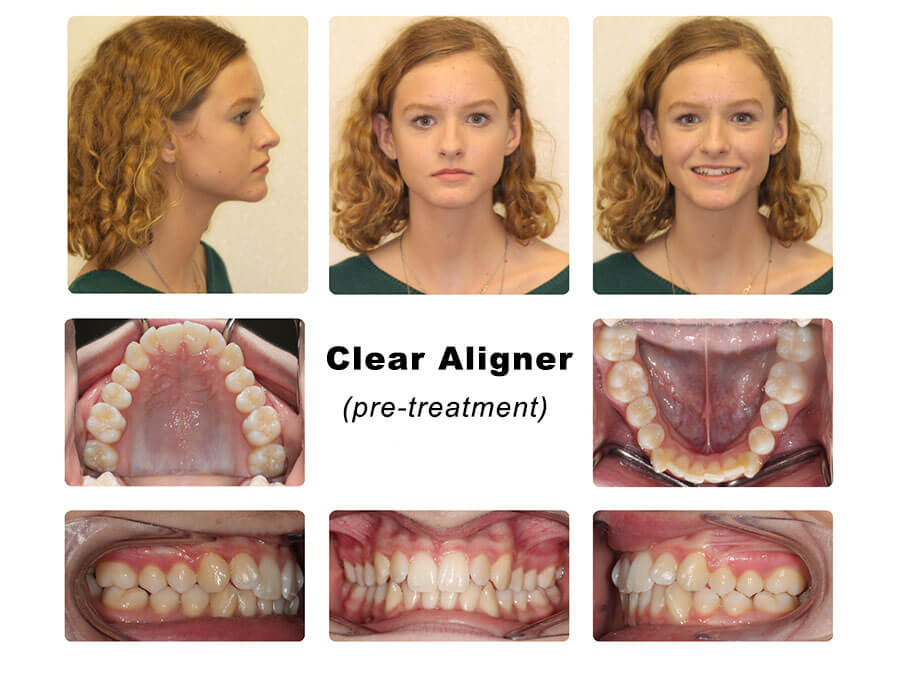
Clear Aligner Cases
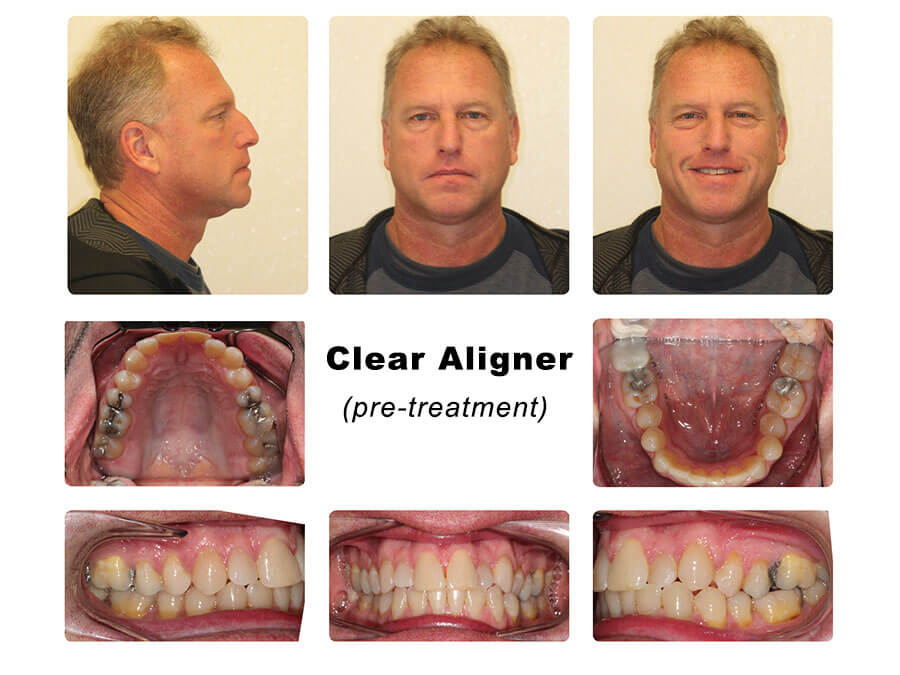
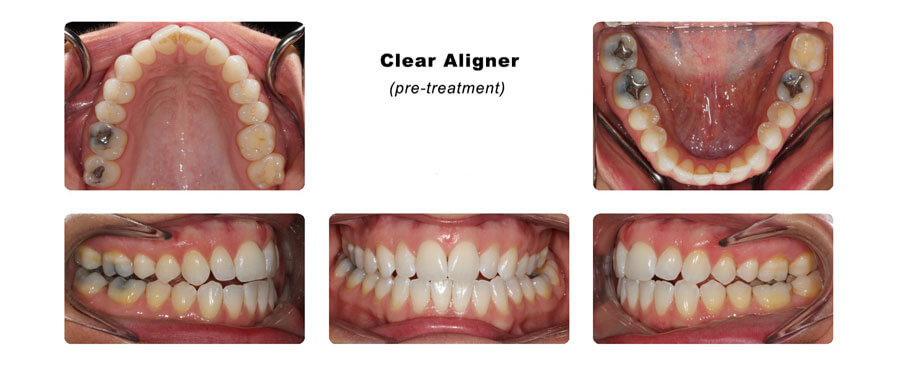
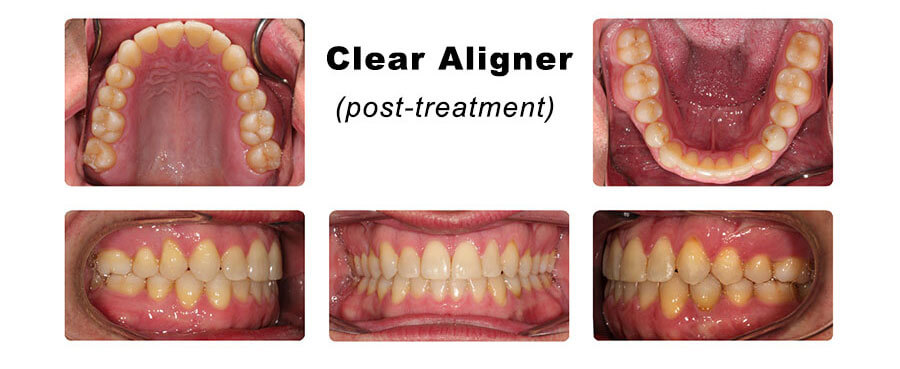
Complex - Crowding, Missing Teeth
After
Before
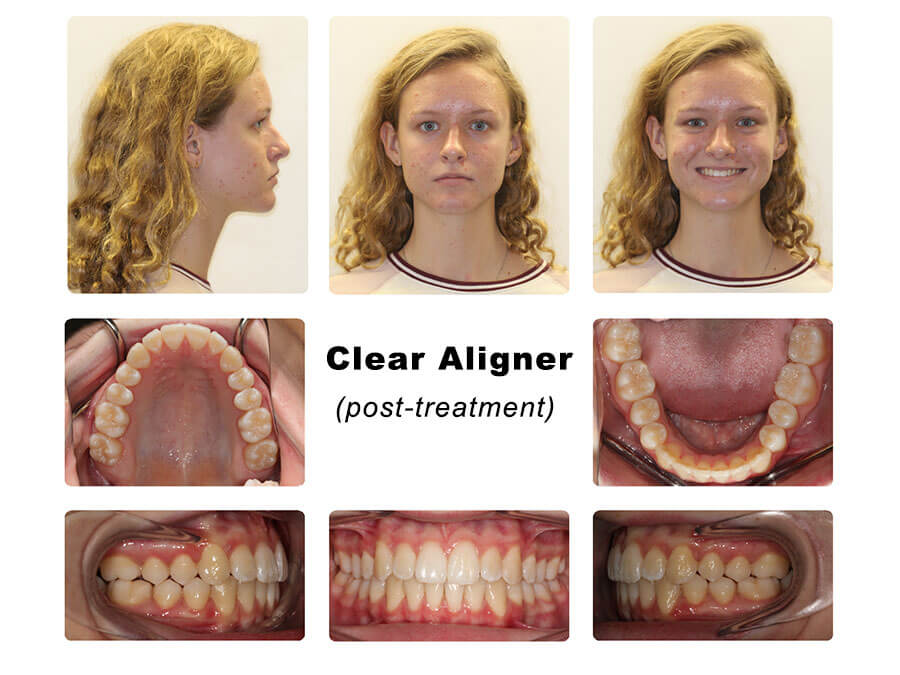
Crossbite & Crowding
After
Before
Open Bite & Crossbite
After

Before
Front Bite Misalignment
After
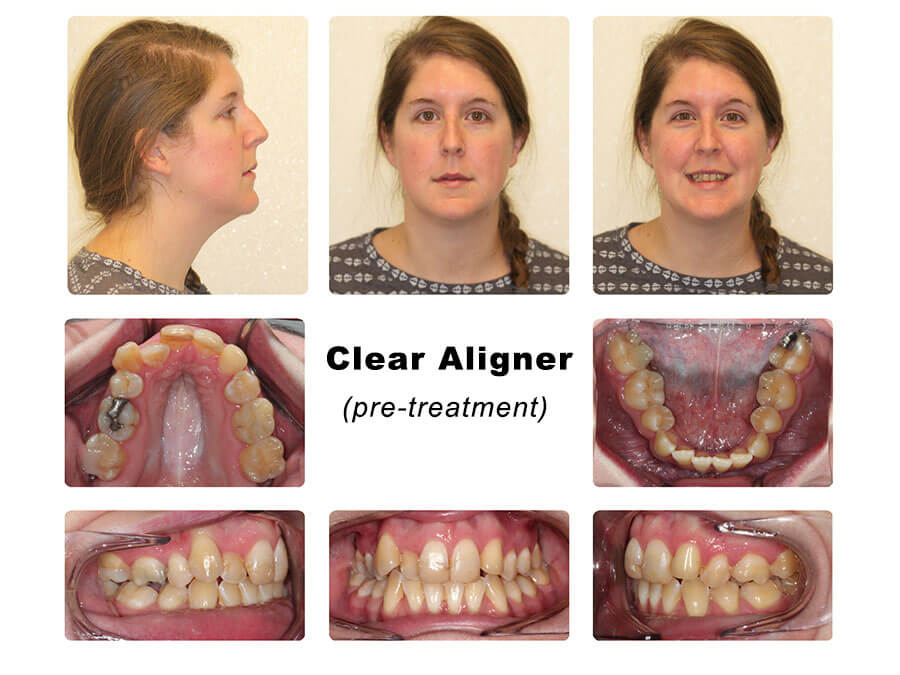
Before

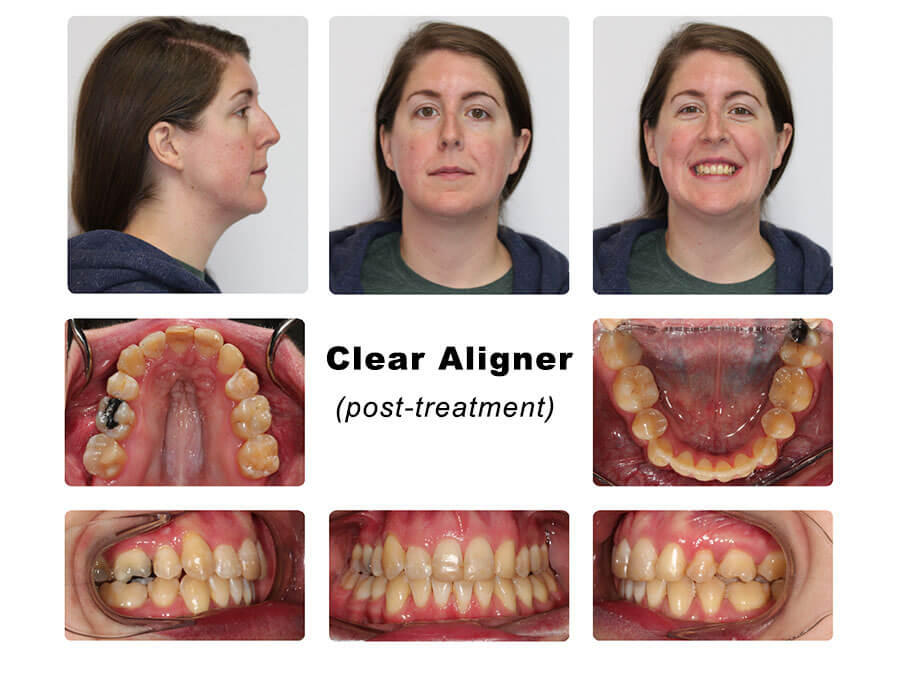
Crowding
After
Before
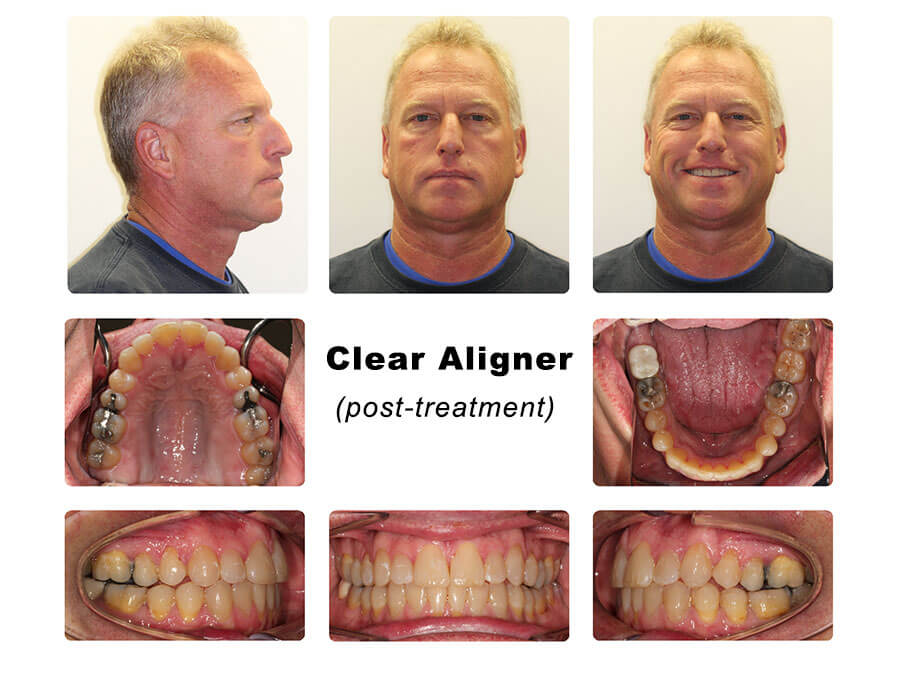
Open Bite
After

Before

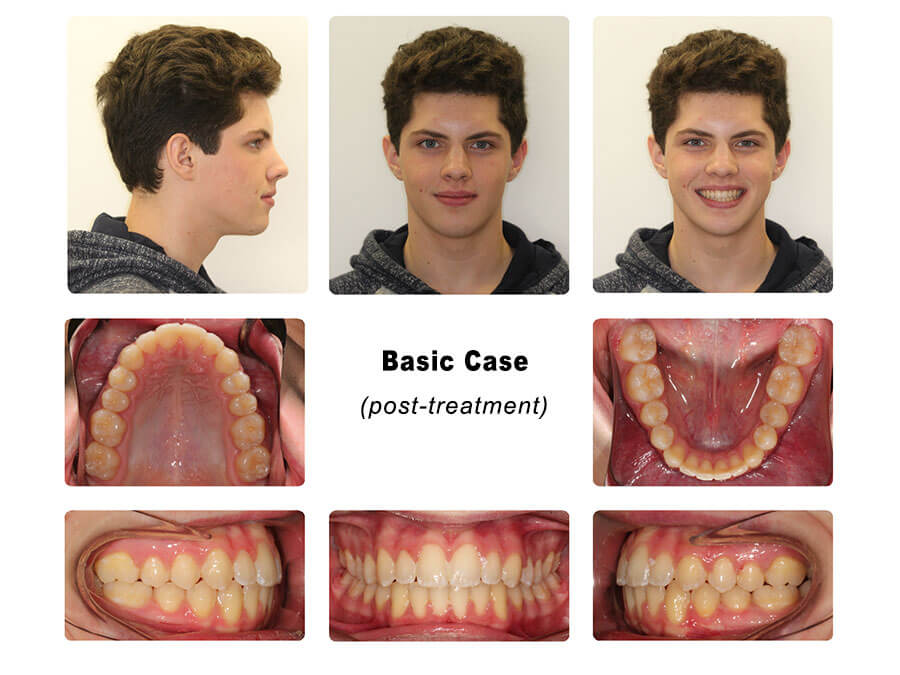
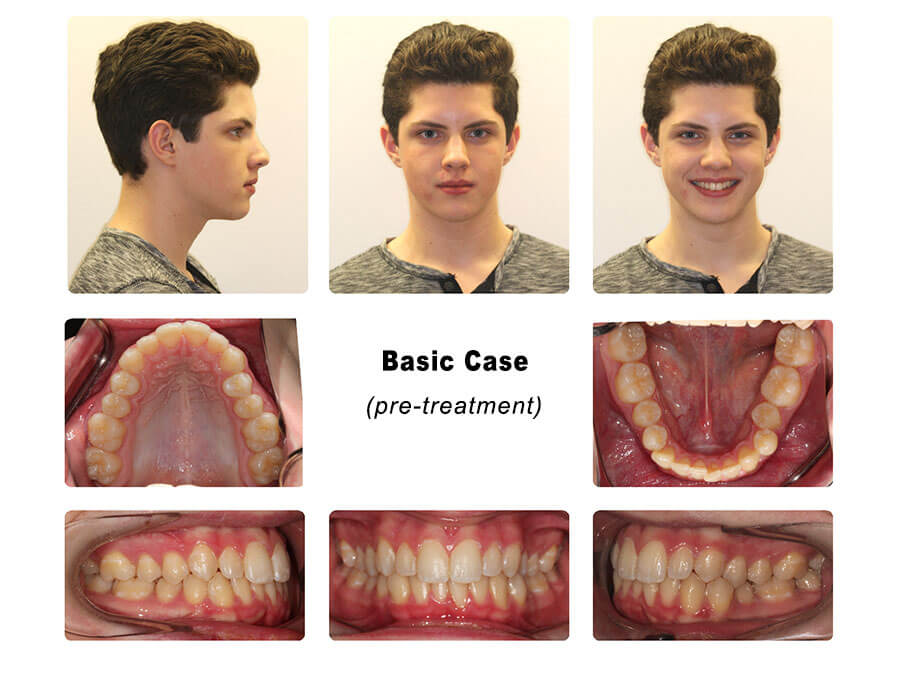
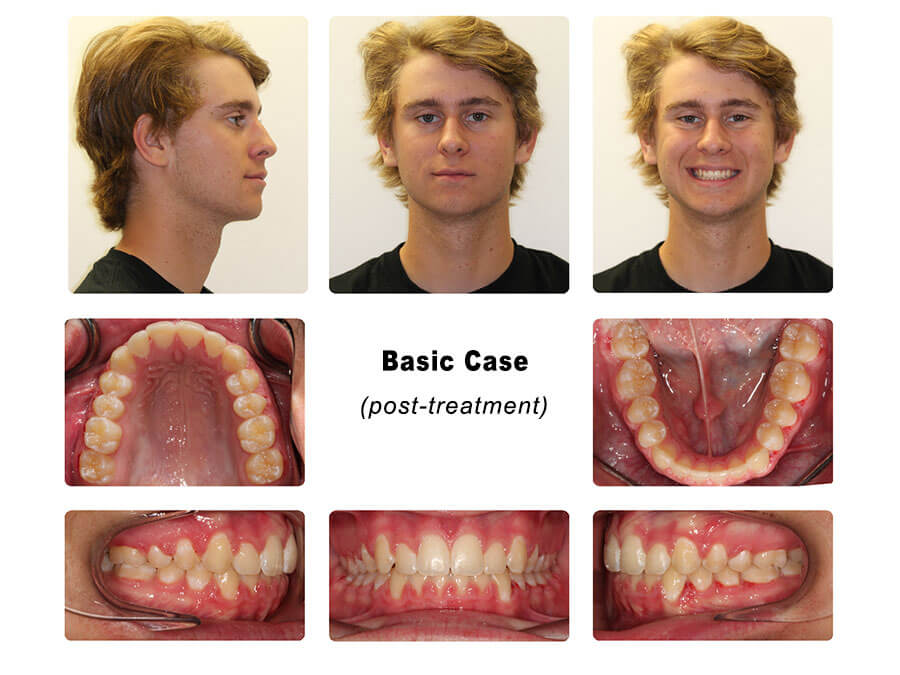
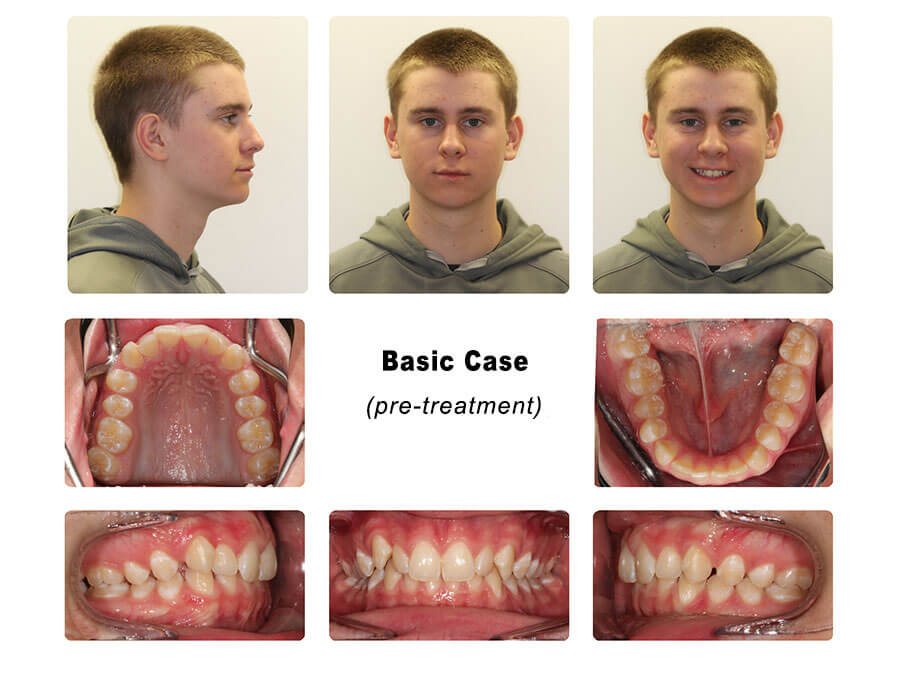
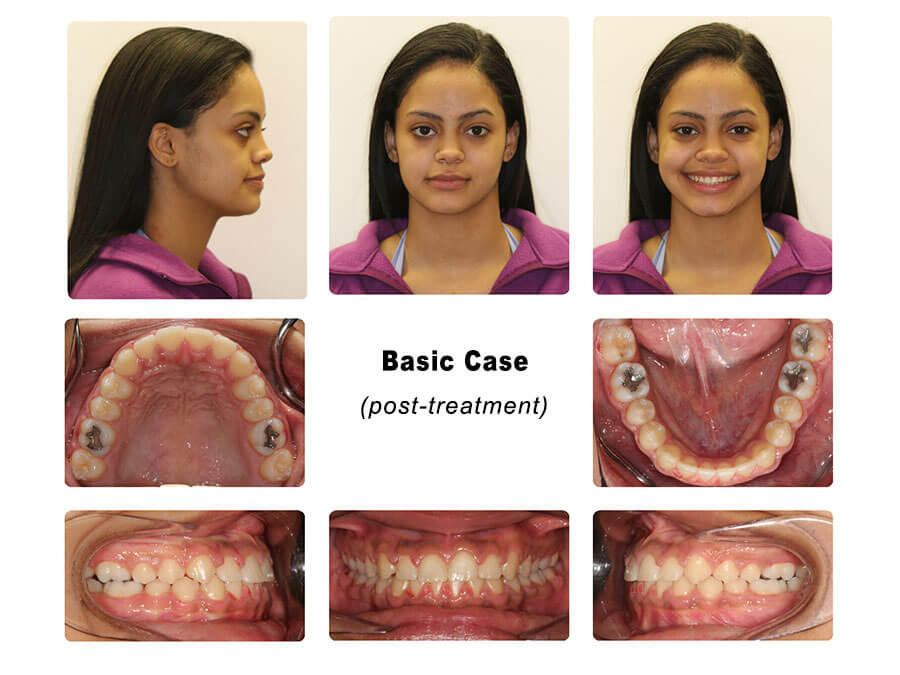
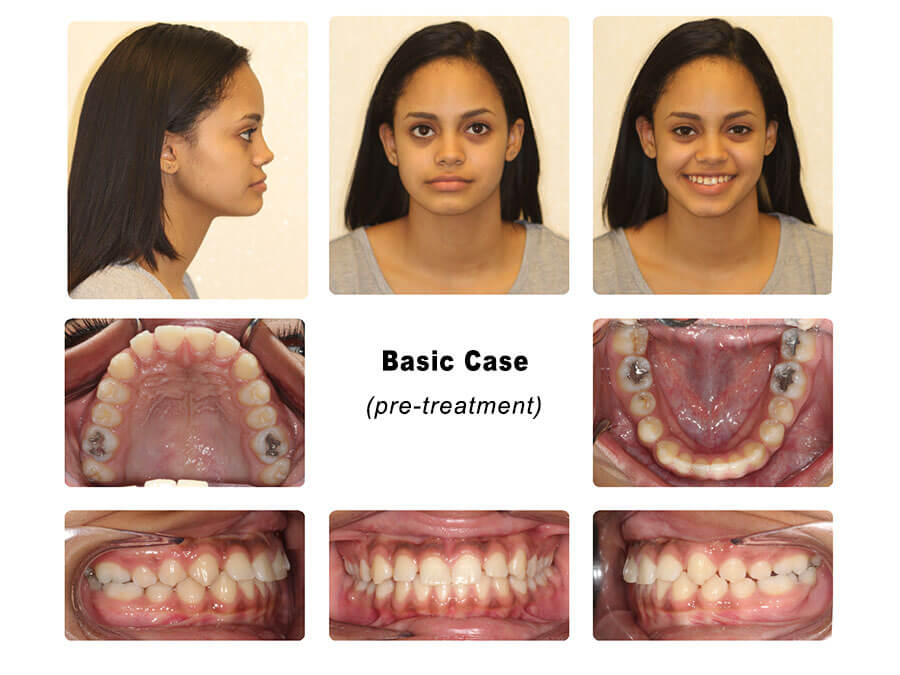
Basic Cases
After
Before
After
Before
After
Before
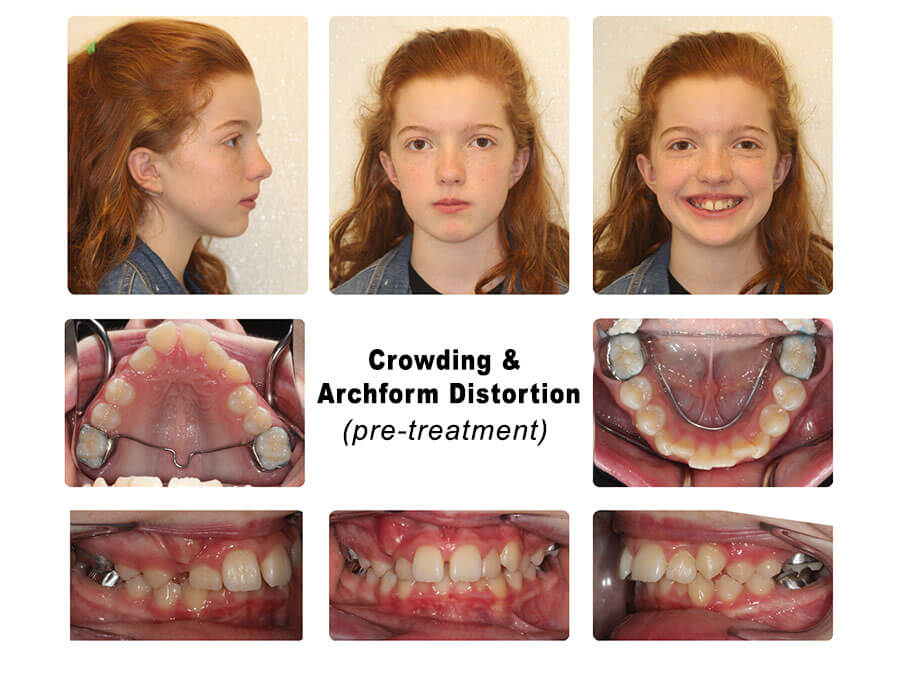
Transfer Cases
Crowding & Archform Distortion
After

Before
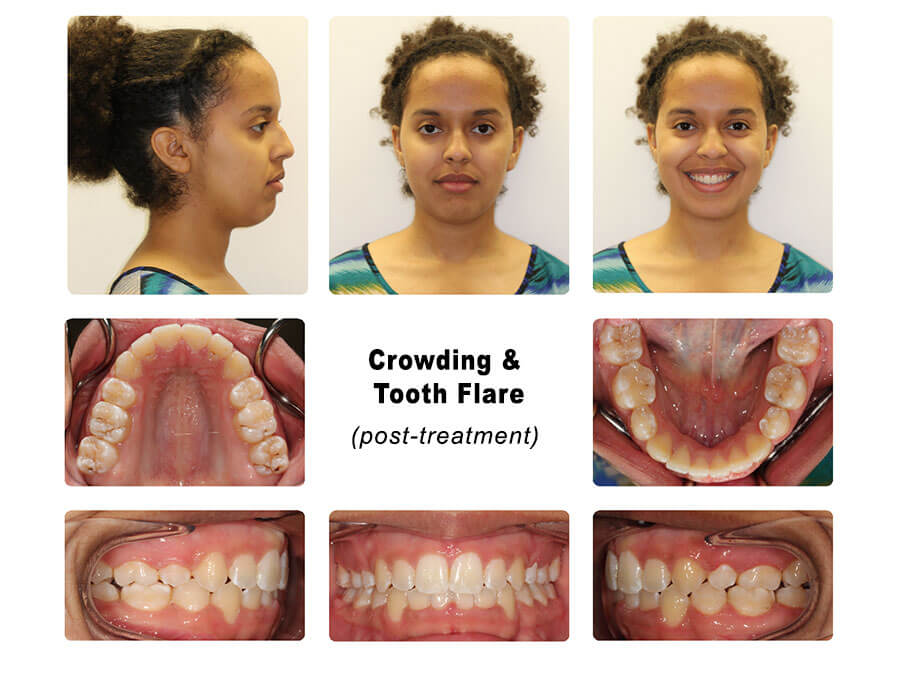
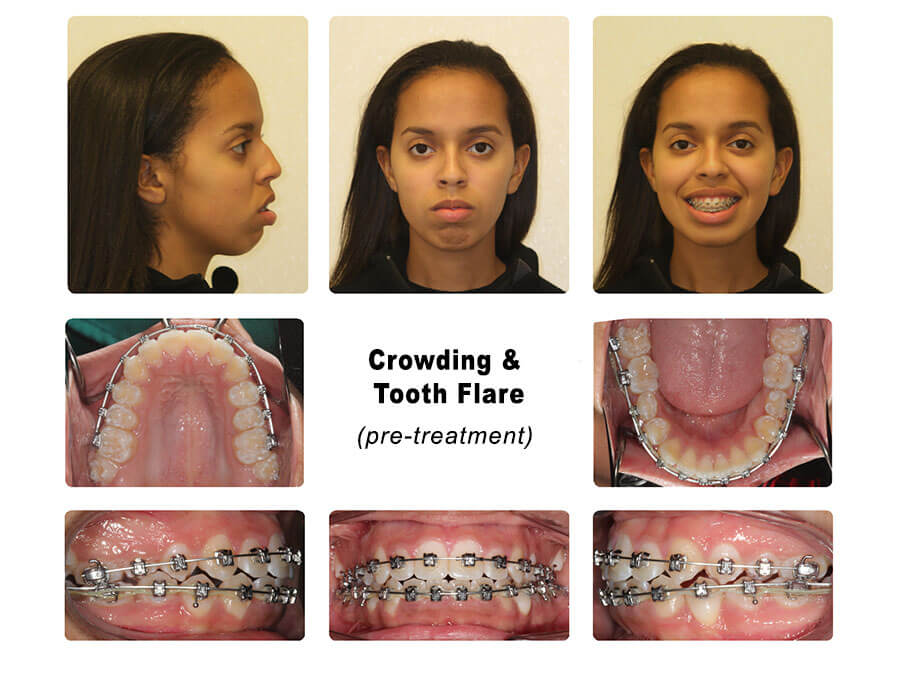
Severe Crowding & Tooth Flare
After
Before
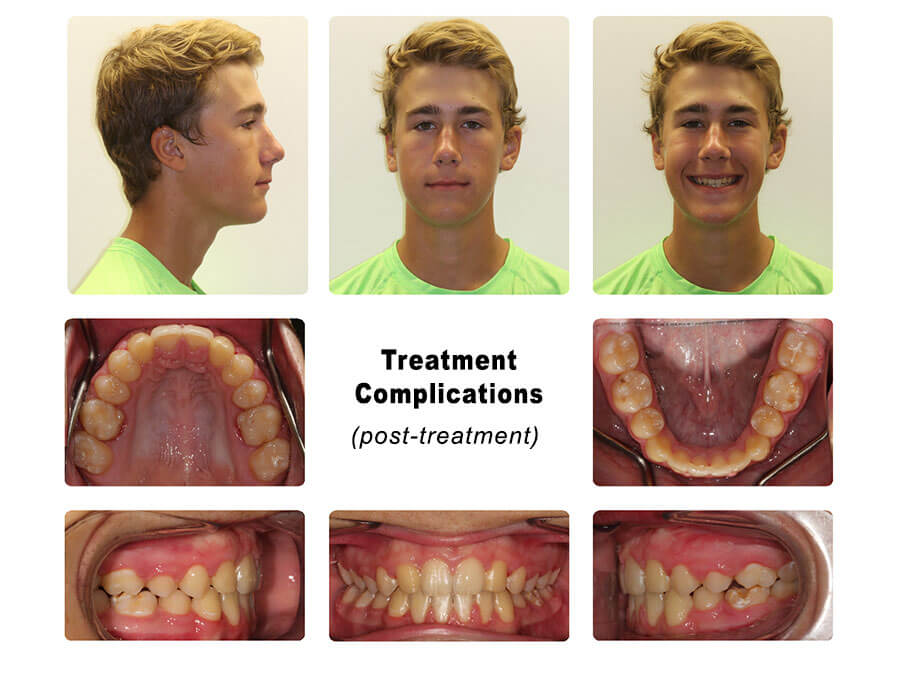
Severe Treatment Complications
After
Before

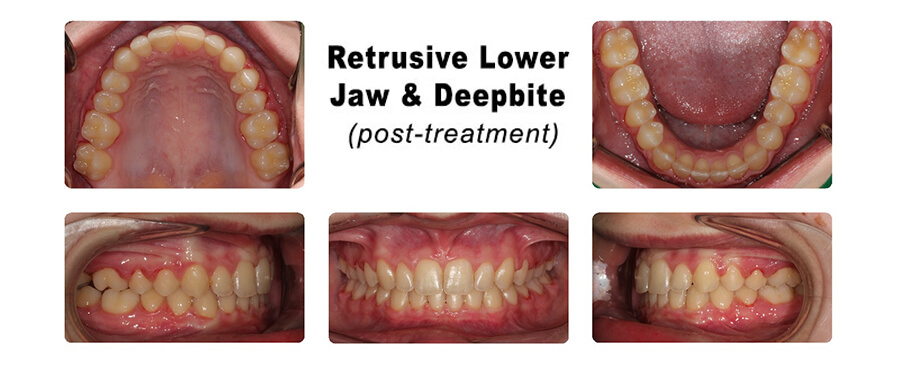
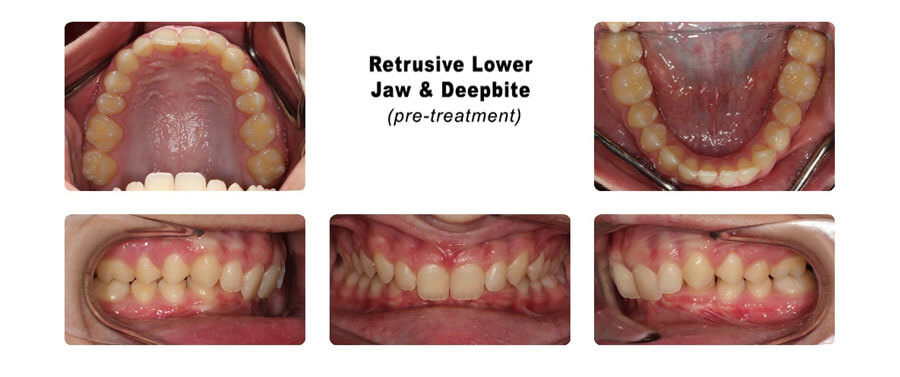
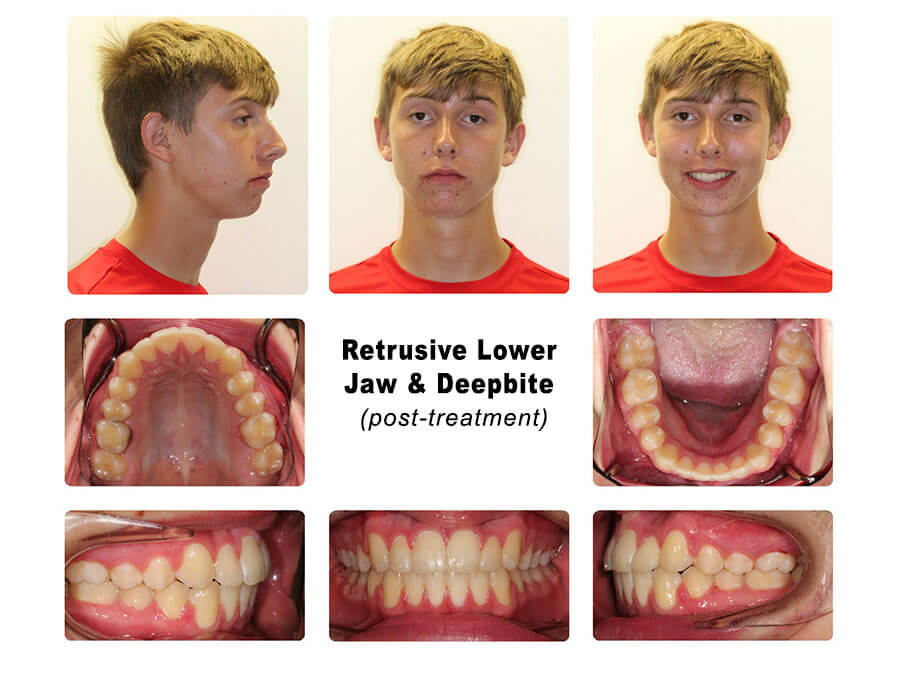
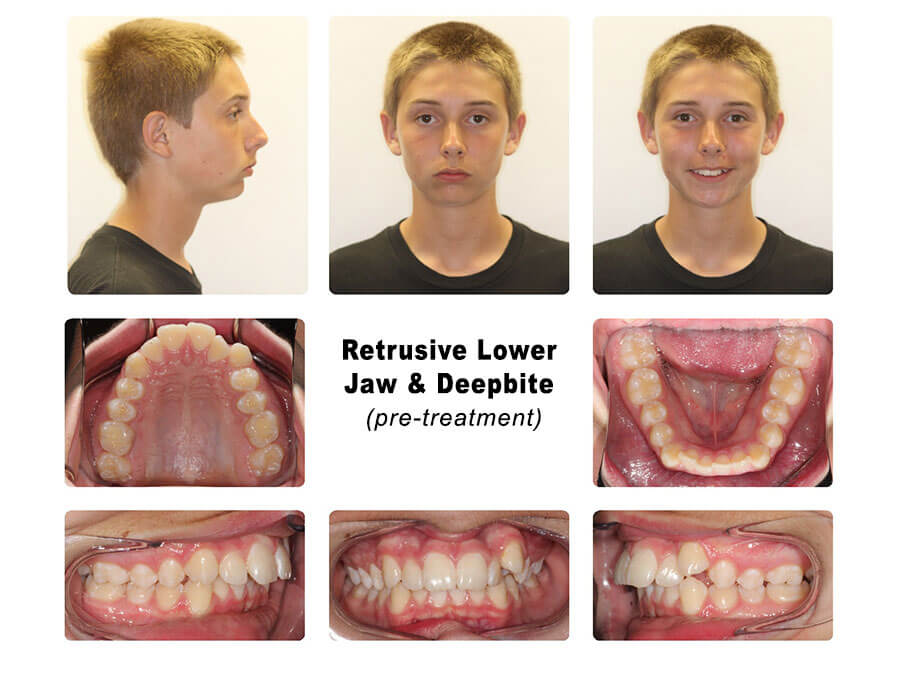
Retrusive Lower Jaw & Deepbite
Horizontal Growth Tendency
After
Before
Vertical Growth Tendency
After
Before
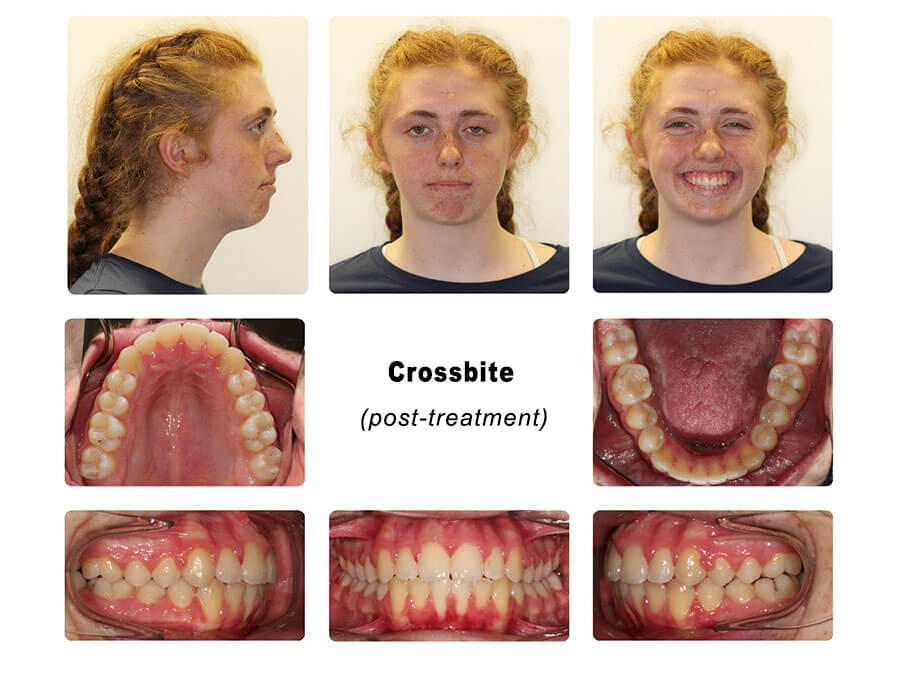
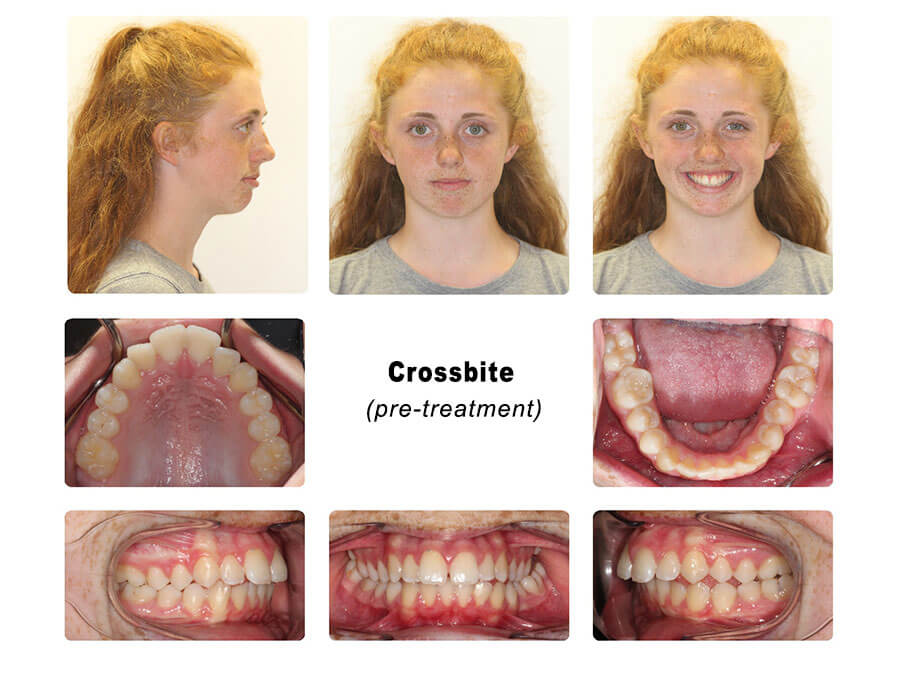
Crossbite
After
Before
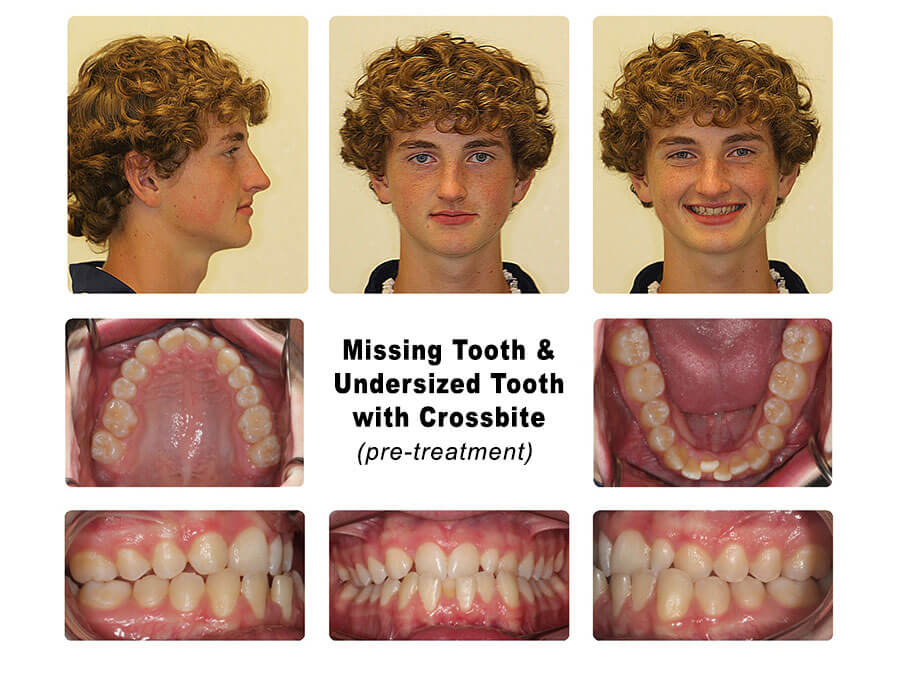
Missing Tooth & Undersized Tooth Cases
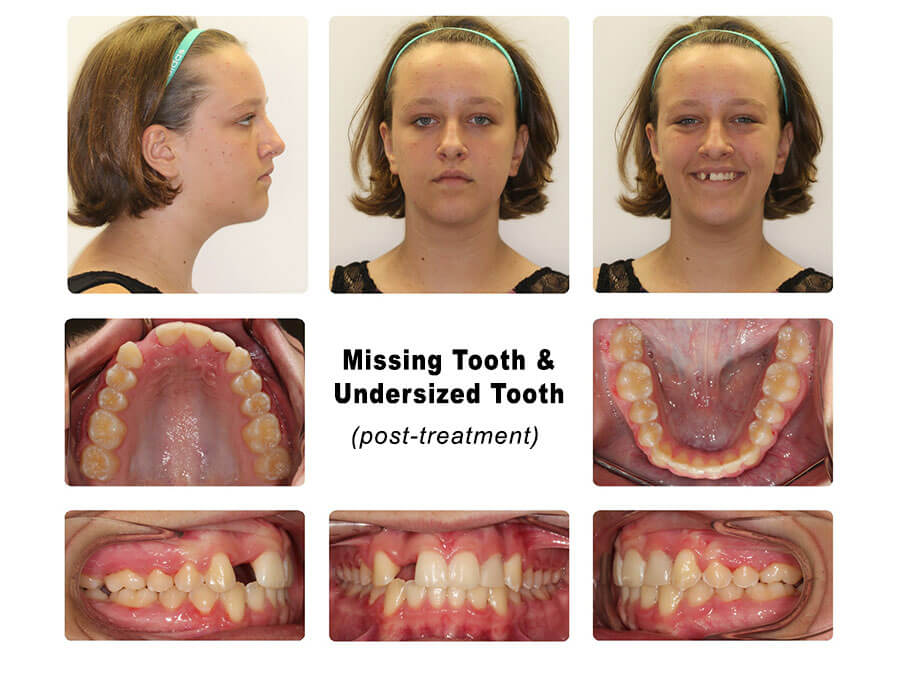
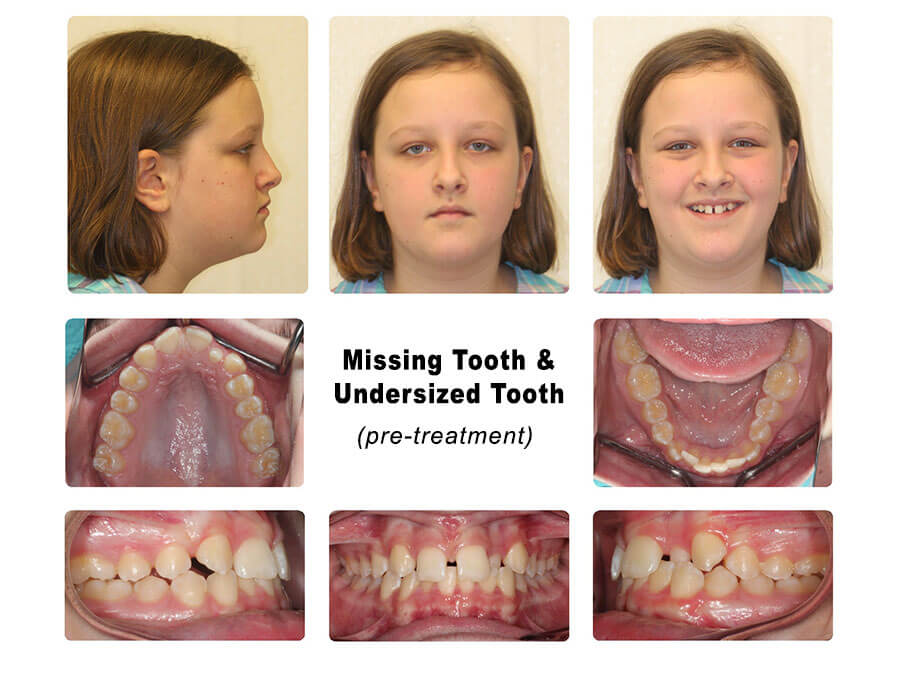
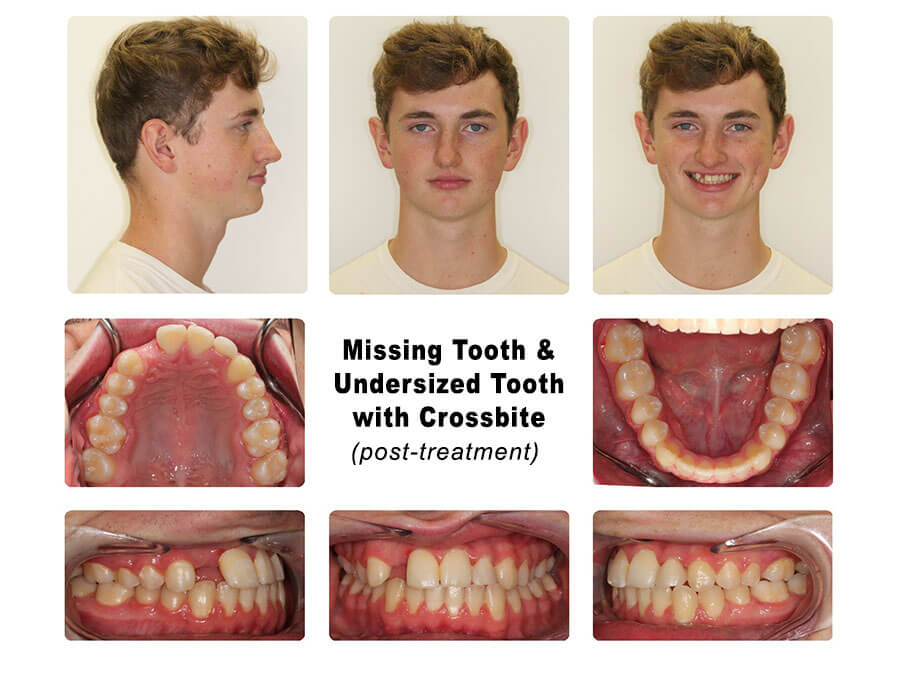
Missing Tooth & Undersized Tooth
After
Before
With Anterior Crossbite
After
Before
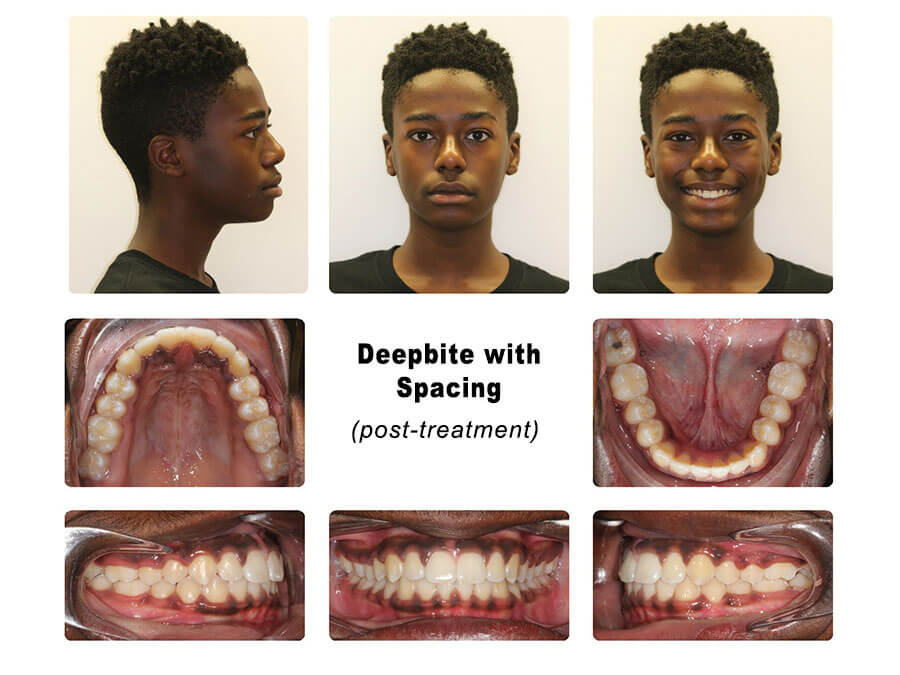
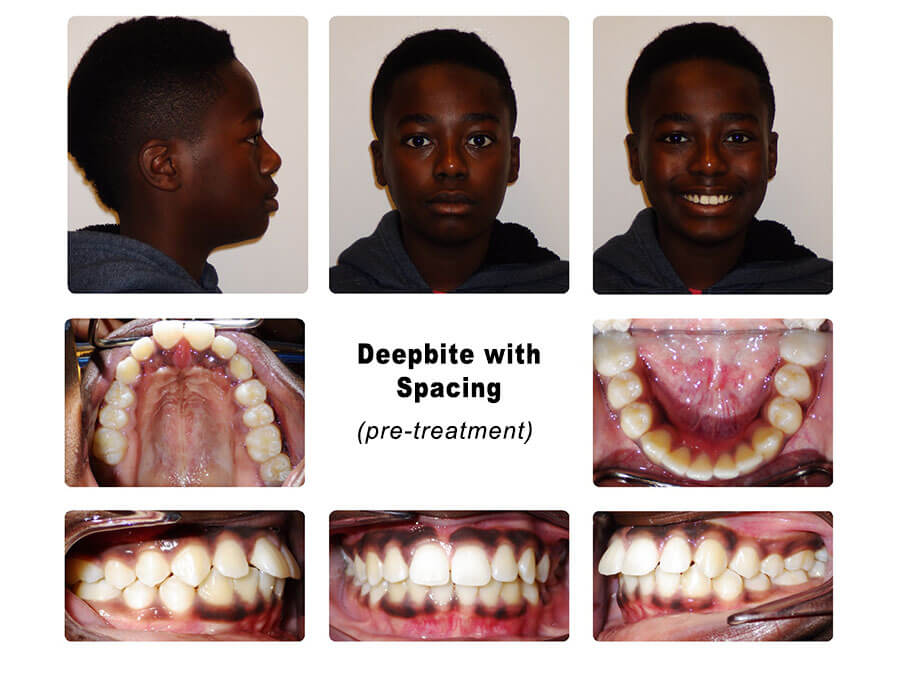
Deepbite with Spacing
Deep Bite with Spacing: Normal Lower Face Height
After
Before
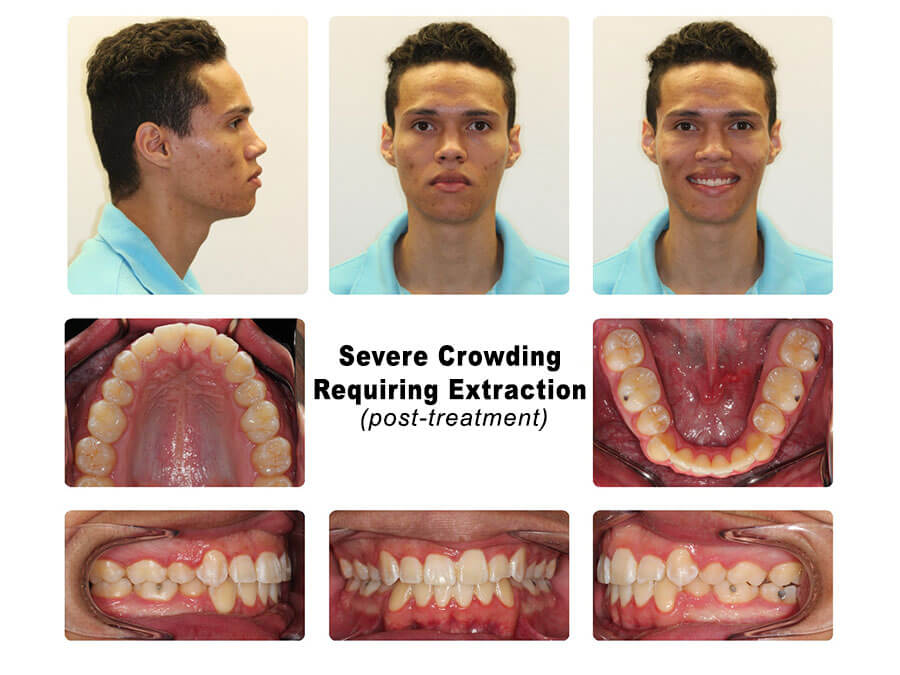
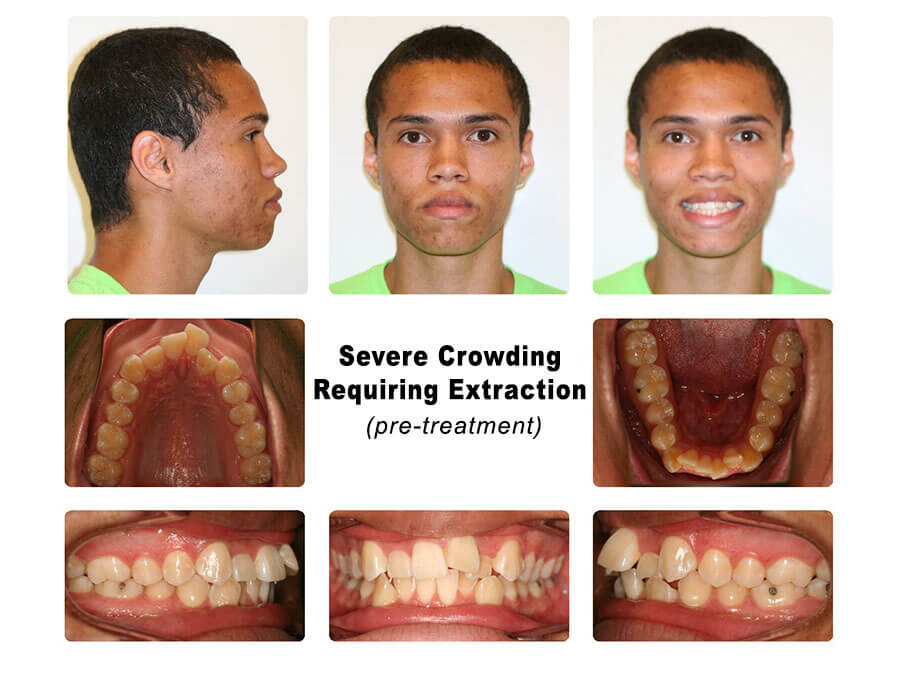
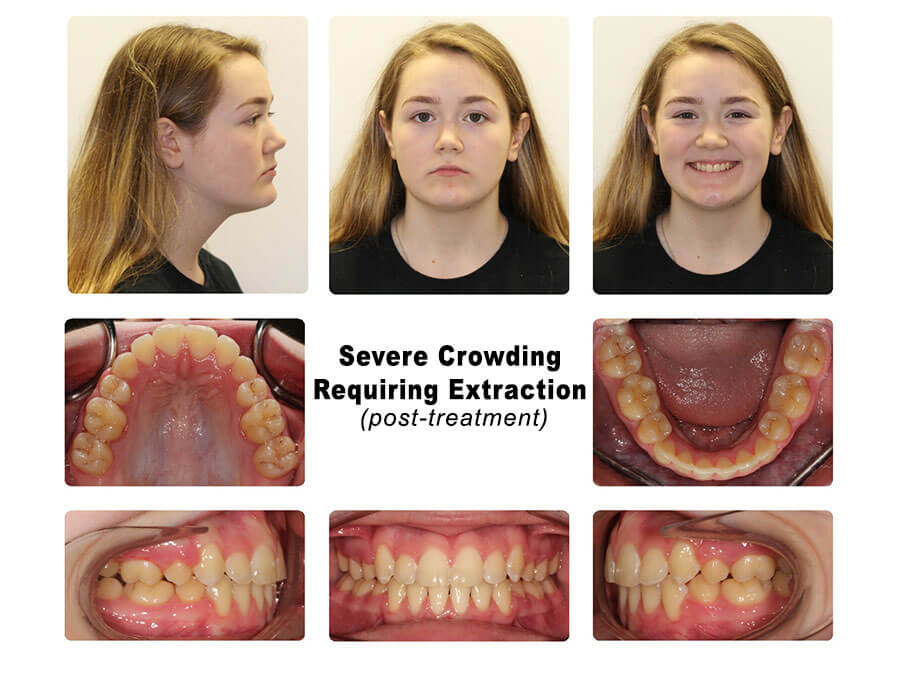
Severe Crowding with Extraction
Severe Crowding Treated with Extraction
After
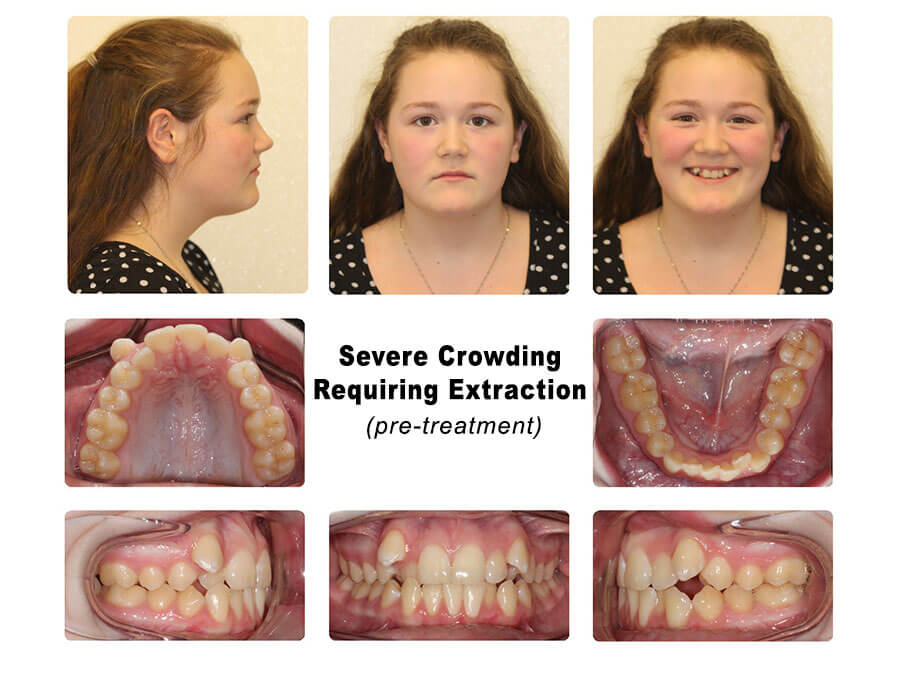
Before
Severe Crowding Treated with Extraction
After
Before
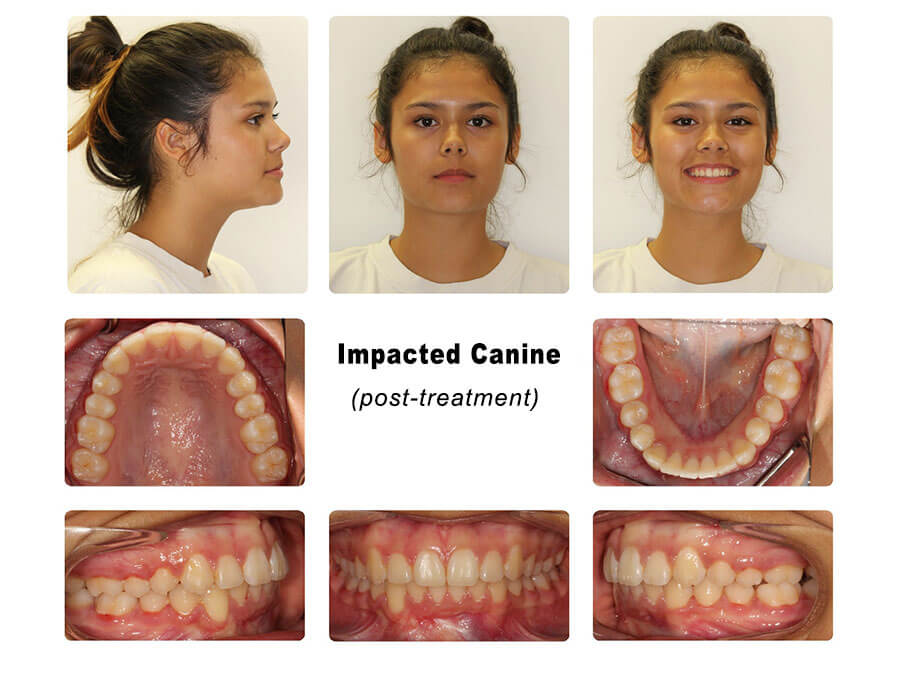
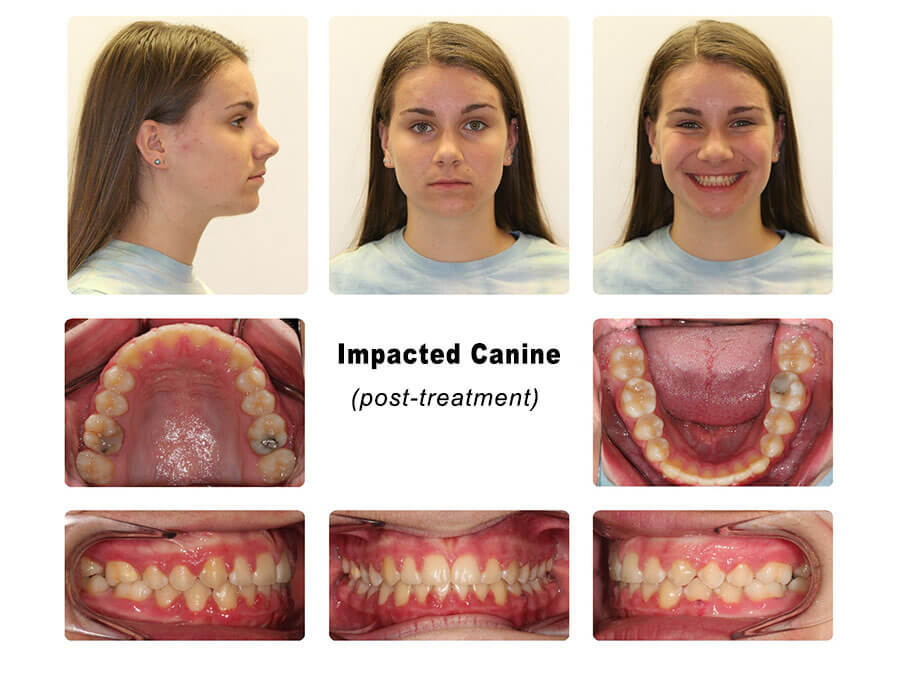
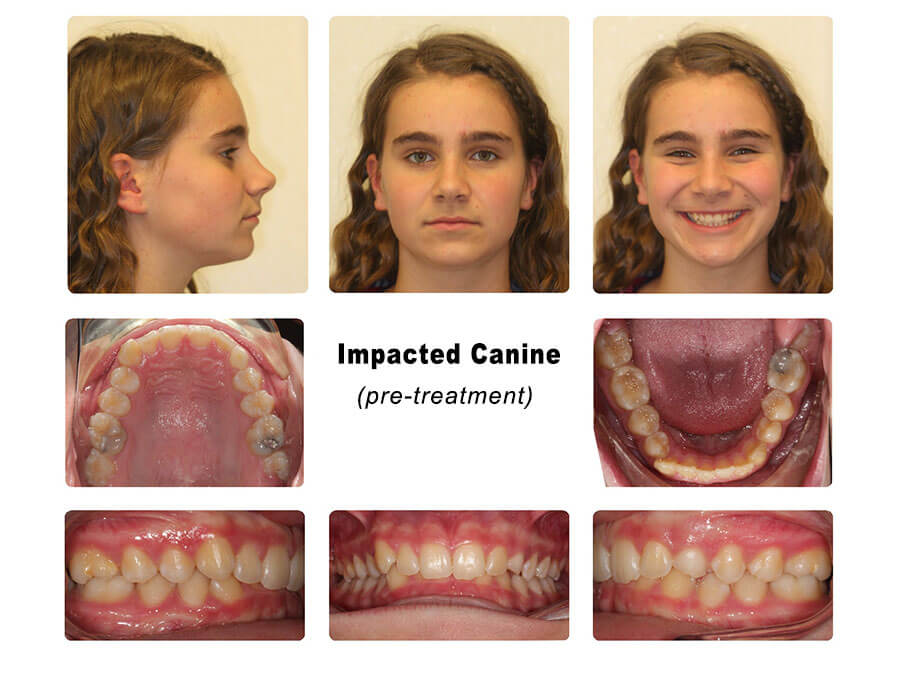
Impacted Canines Cases
Lower Impacted Canine
After
Before

Upper Impacted Canine
After
Before
Openbite
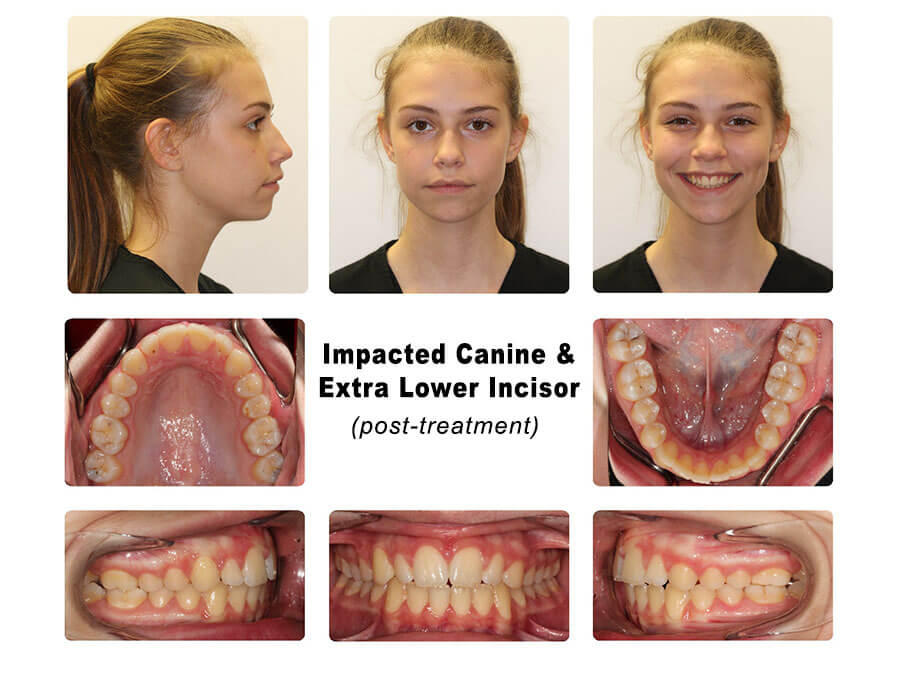
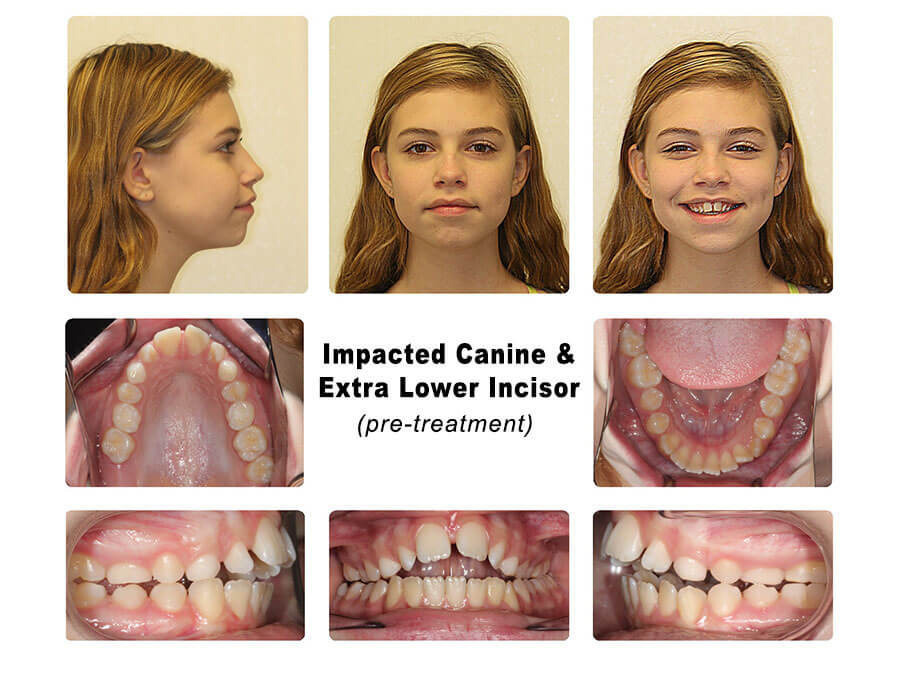
Impacted Canine & Extra Lower Incisor
After
Before
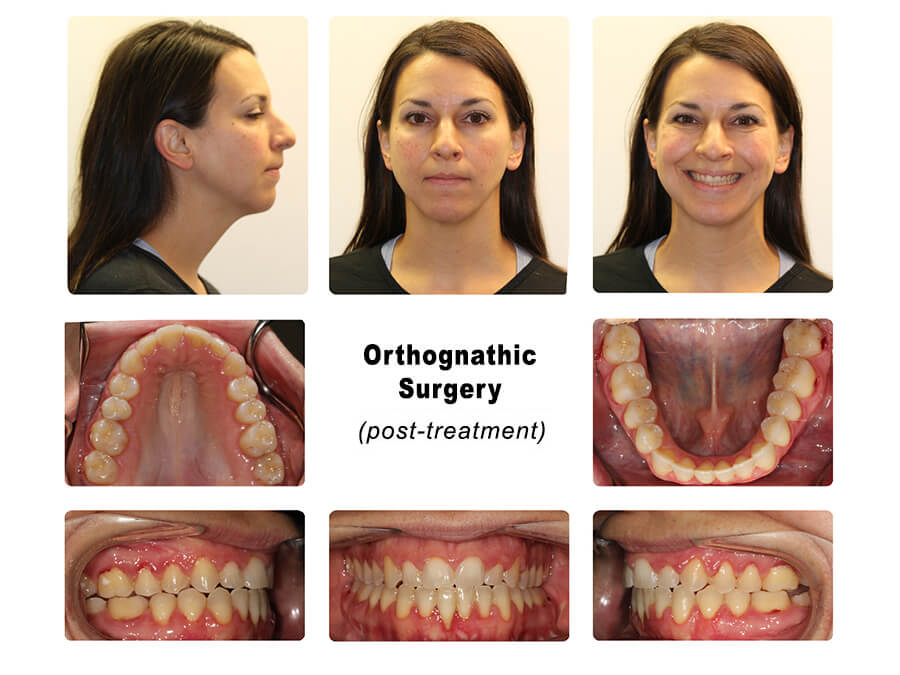
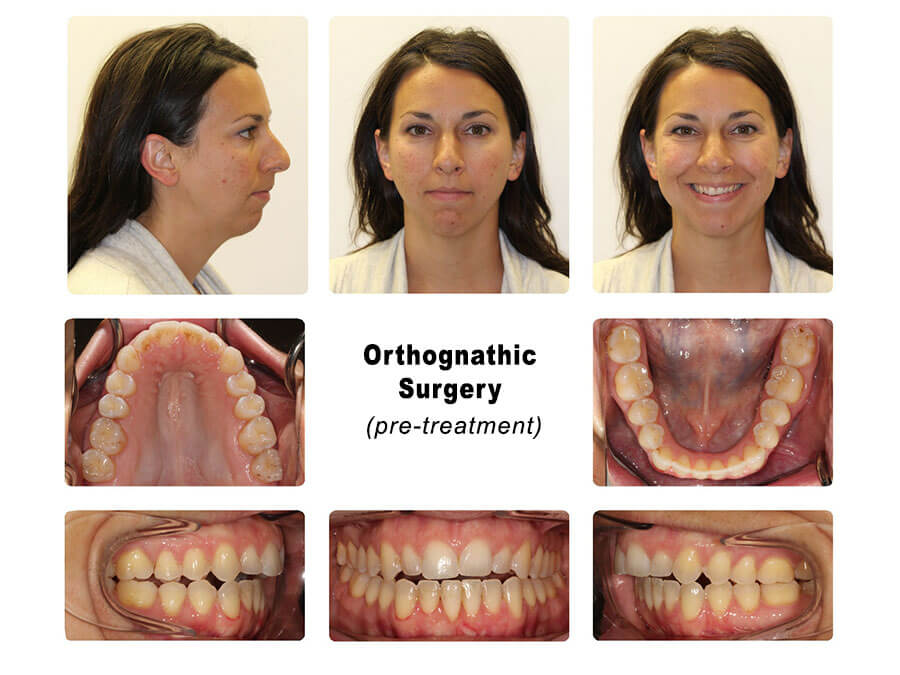
Orthognathic Surgery
Underbite, Small Upper Jaw, Missing Tooth
After

Before

Openbite from Condylar Resorption
After
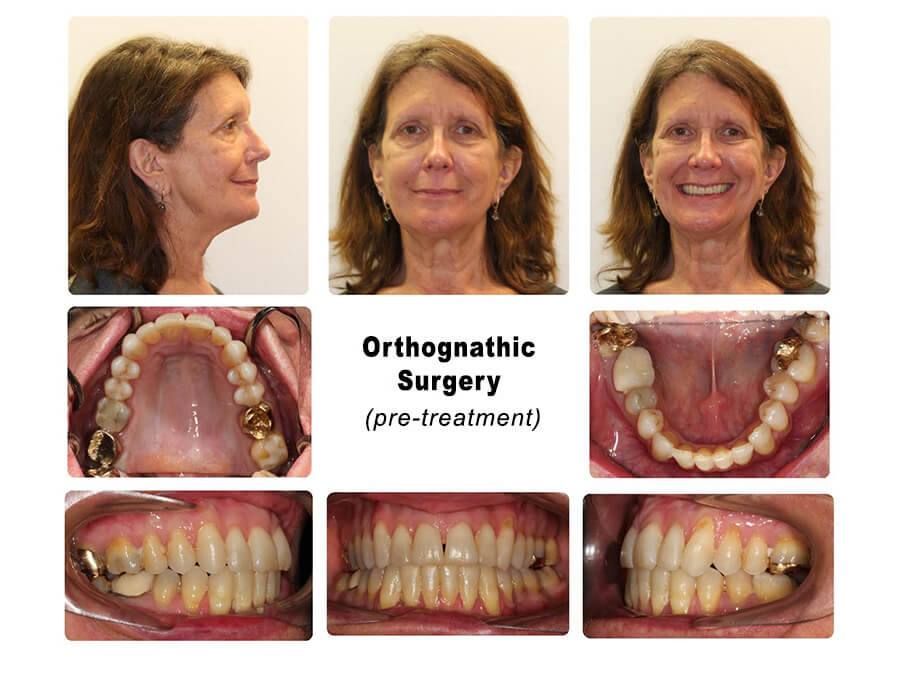
Before
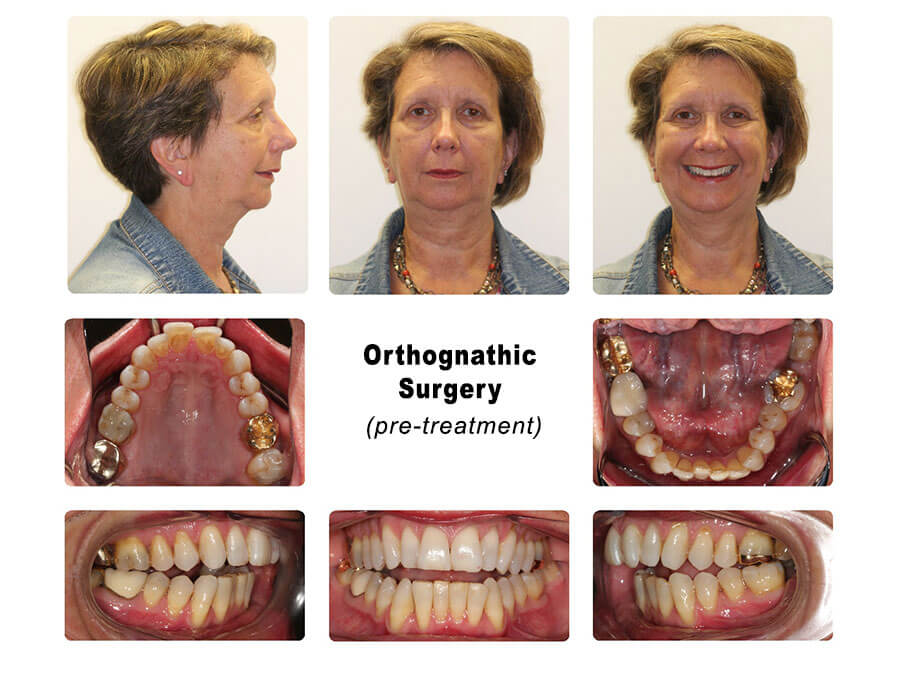
Retrusive Lower Jaw with Openbite
After
Before
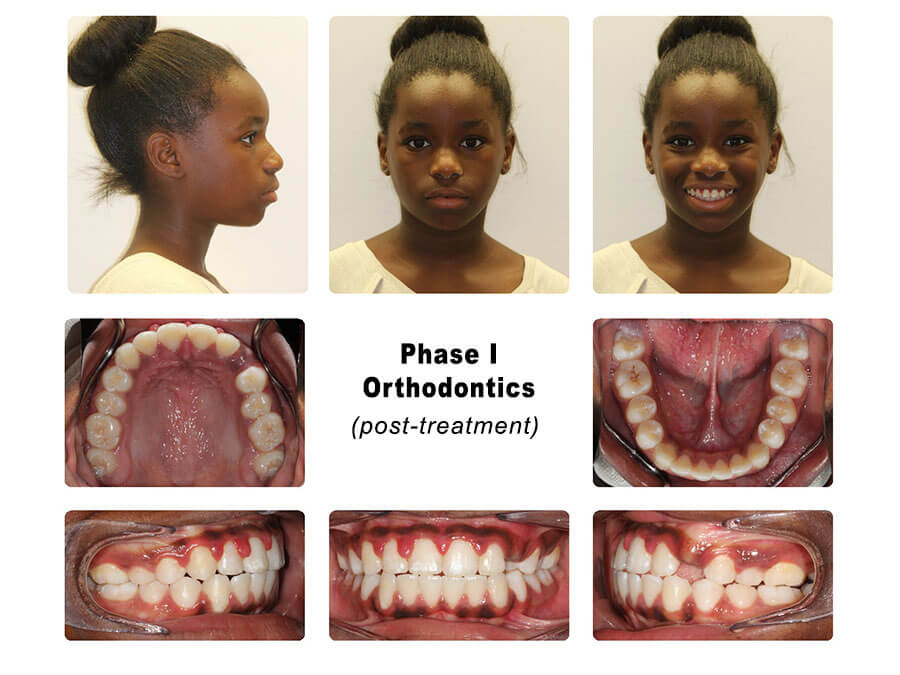
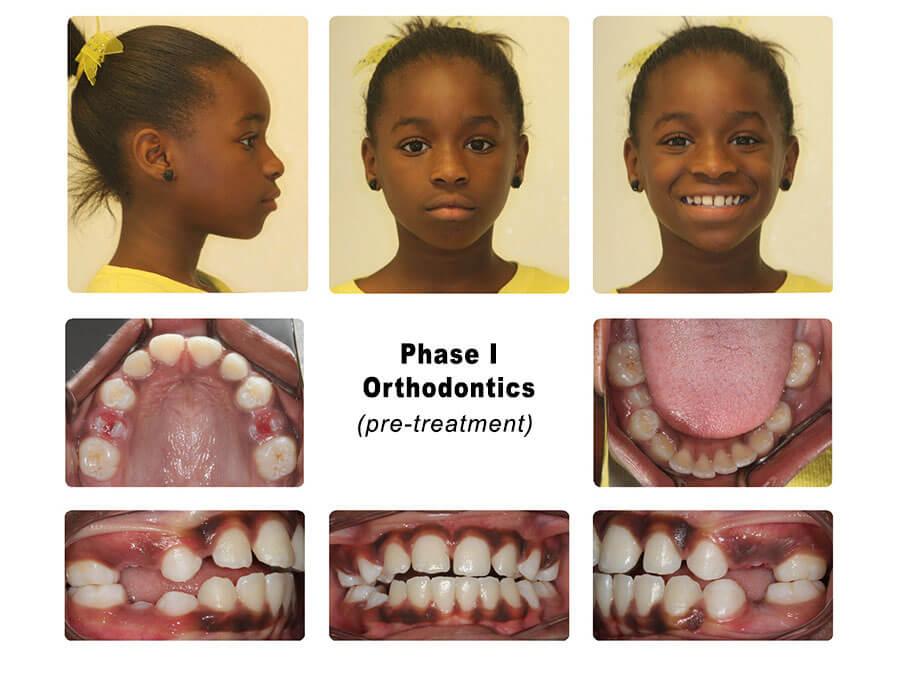
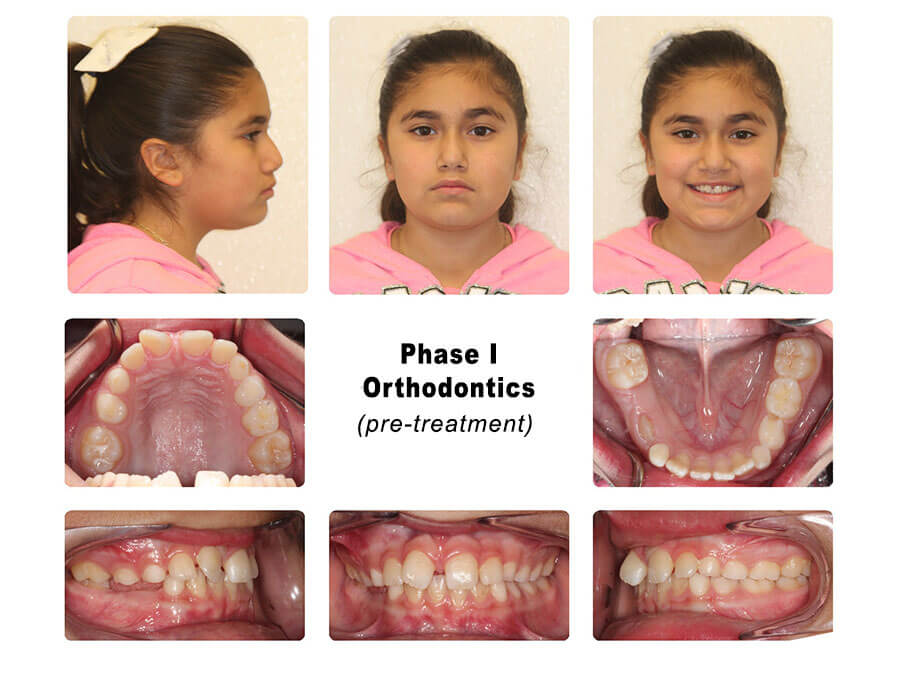
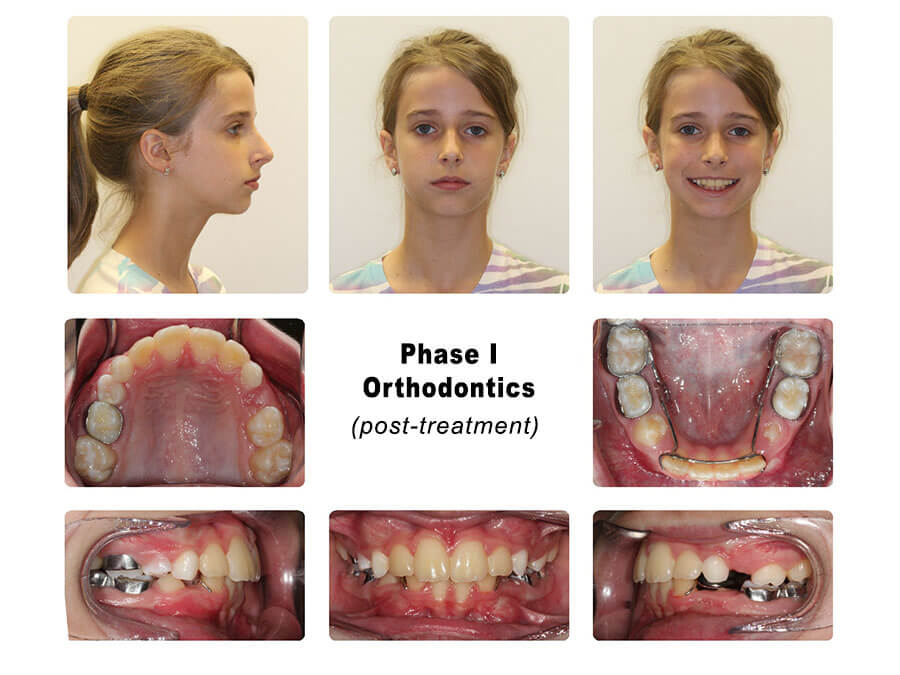
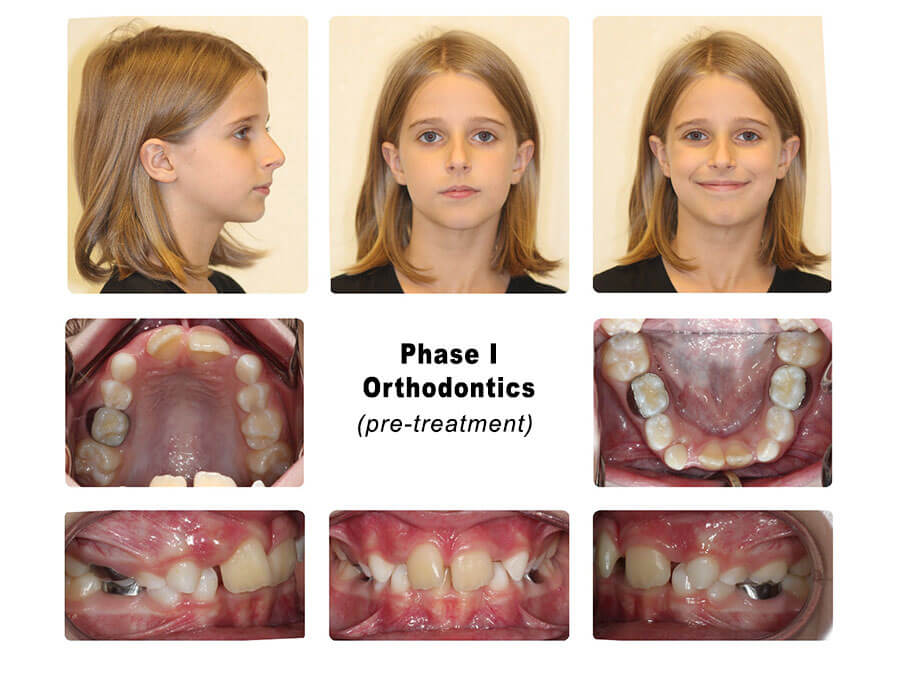
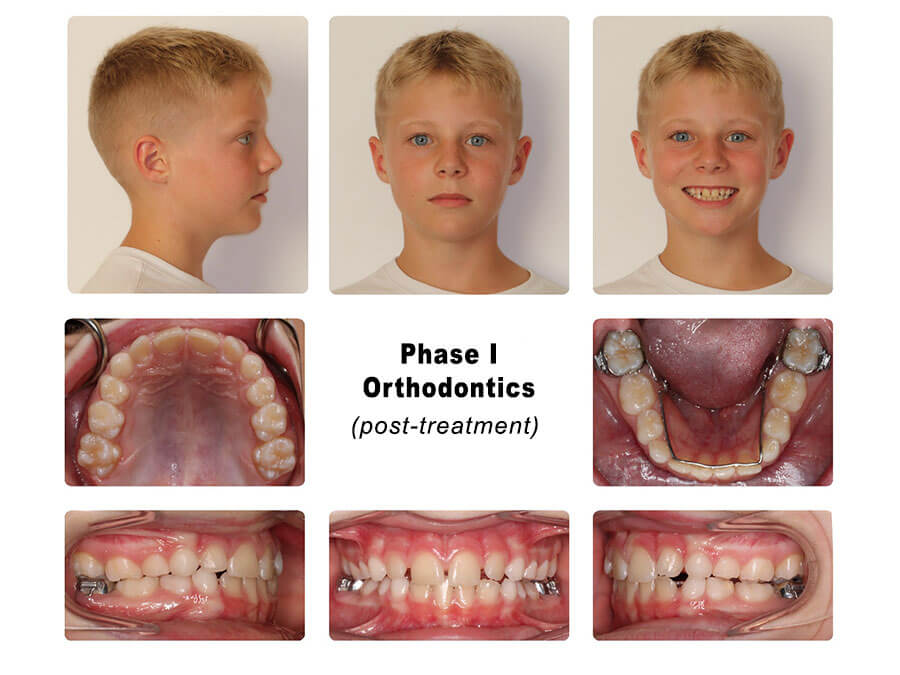
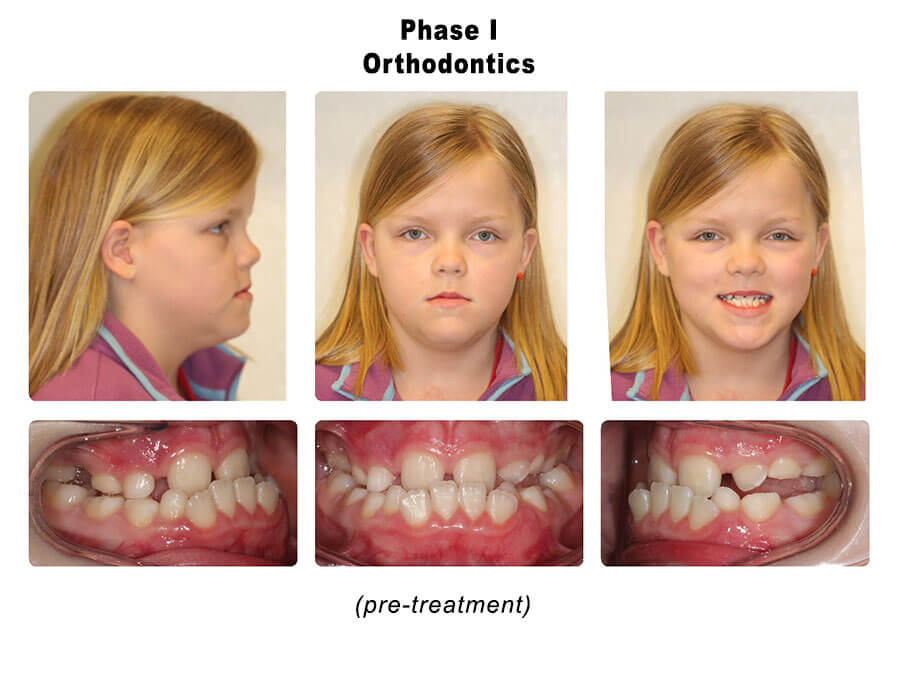
Phase I Cases
Early Tooth Loss with Space Loss in Both Arches
After
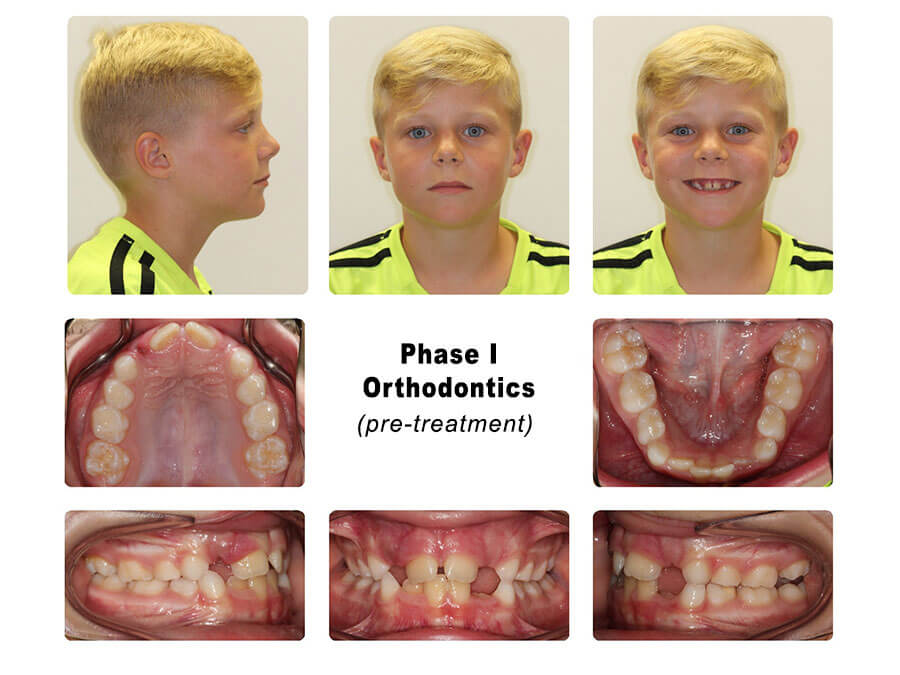
Before
Early Tooth Loss with Space Loss in Upper Arch
After

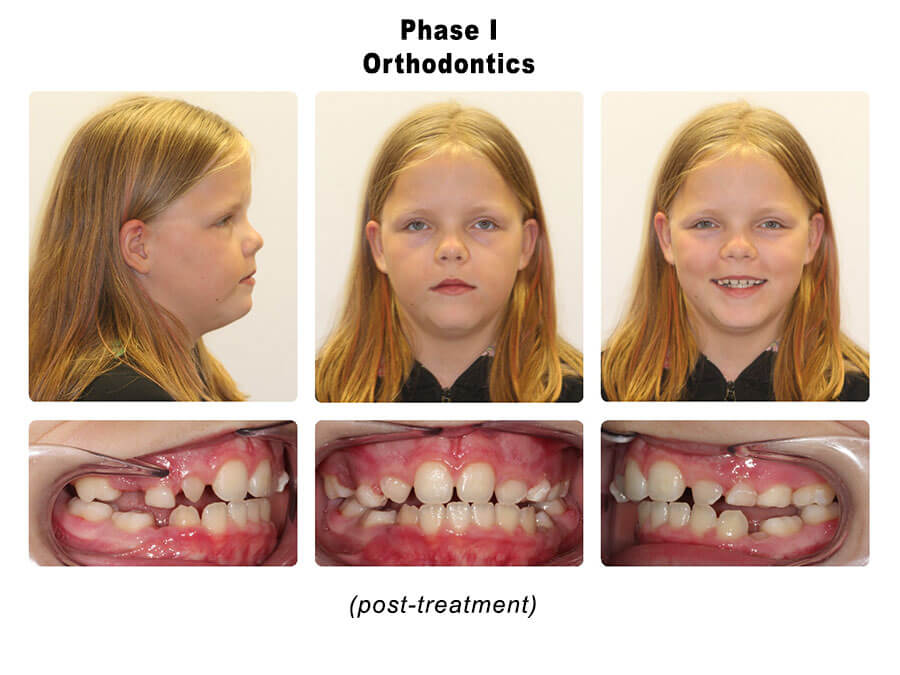
Before
Narrow Arches & Crowding
After
Before
Narrow Arches & Crowding
After
Before
Underbite & Narrow Upper Arch
After
Before
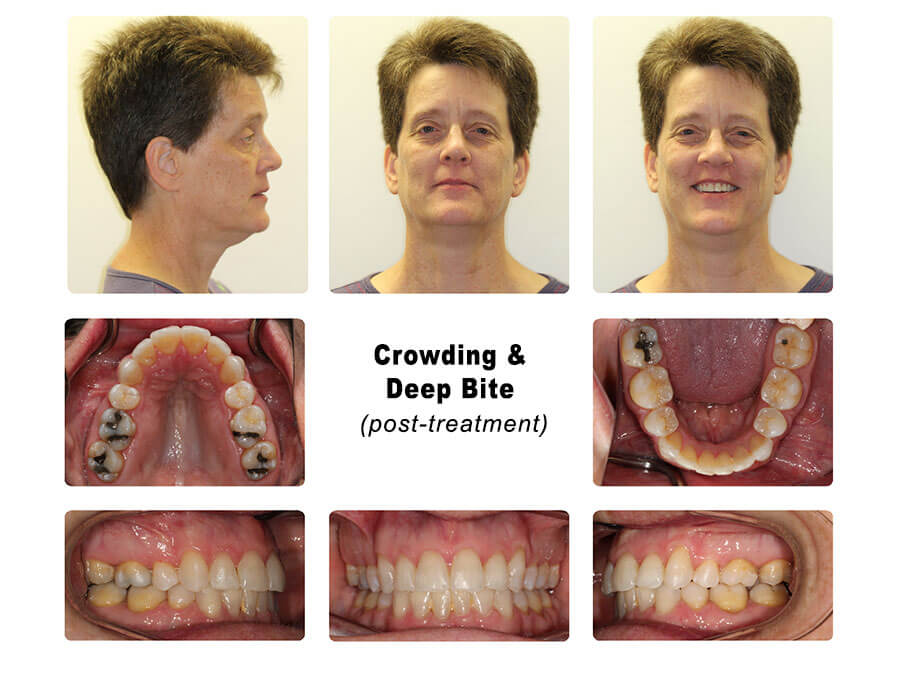
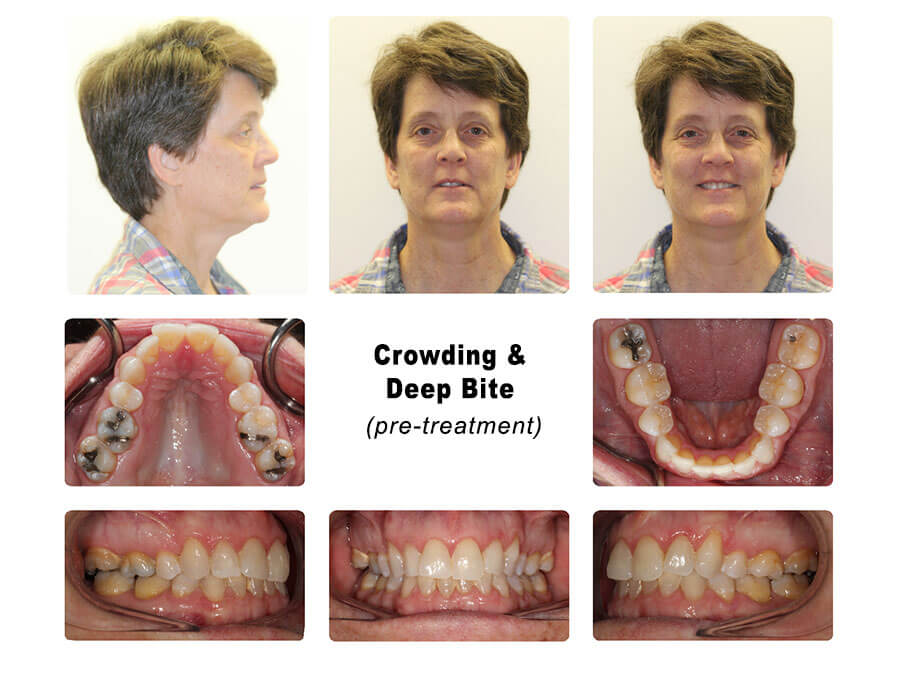
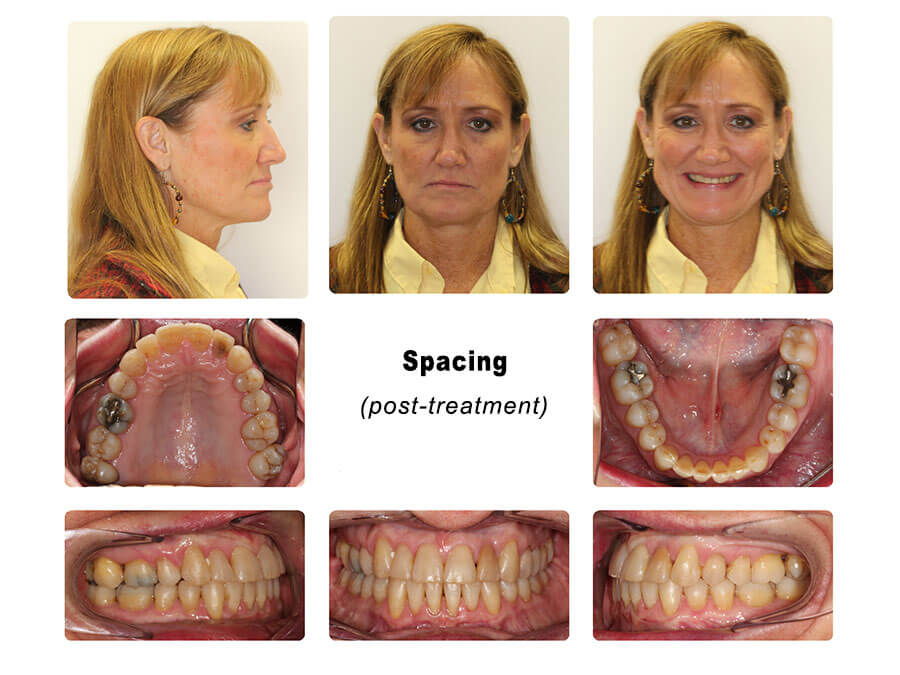
Adult Cases
Crowding & Deepbite
After
Before
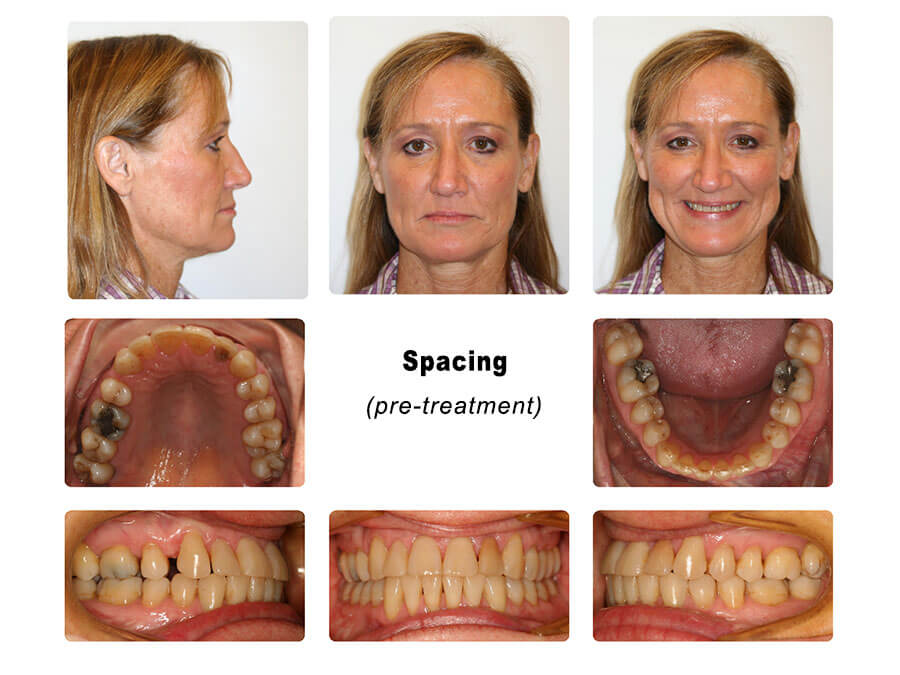
Spacing
After
Before